
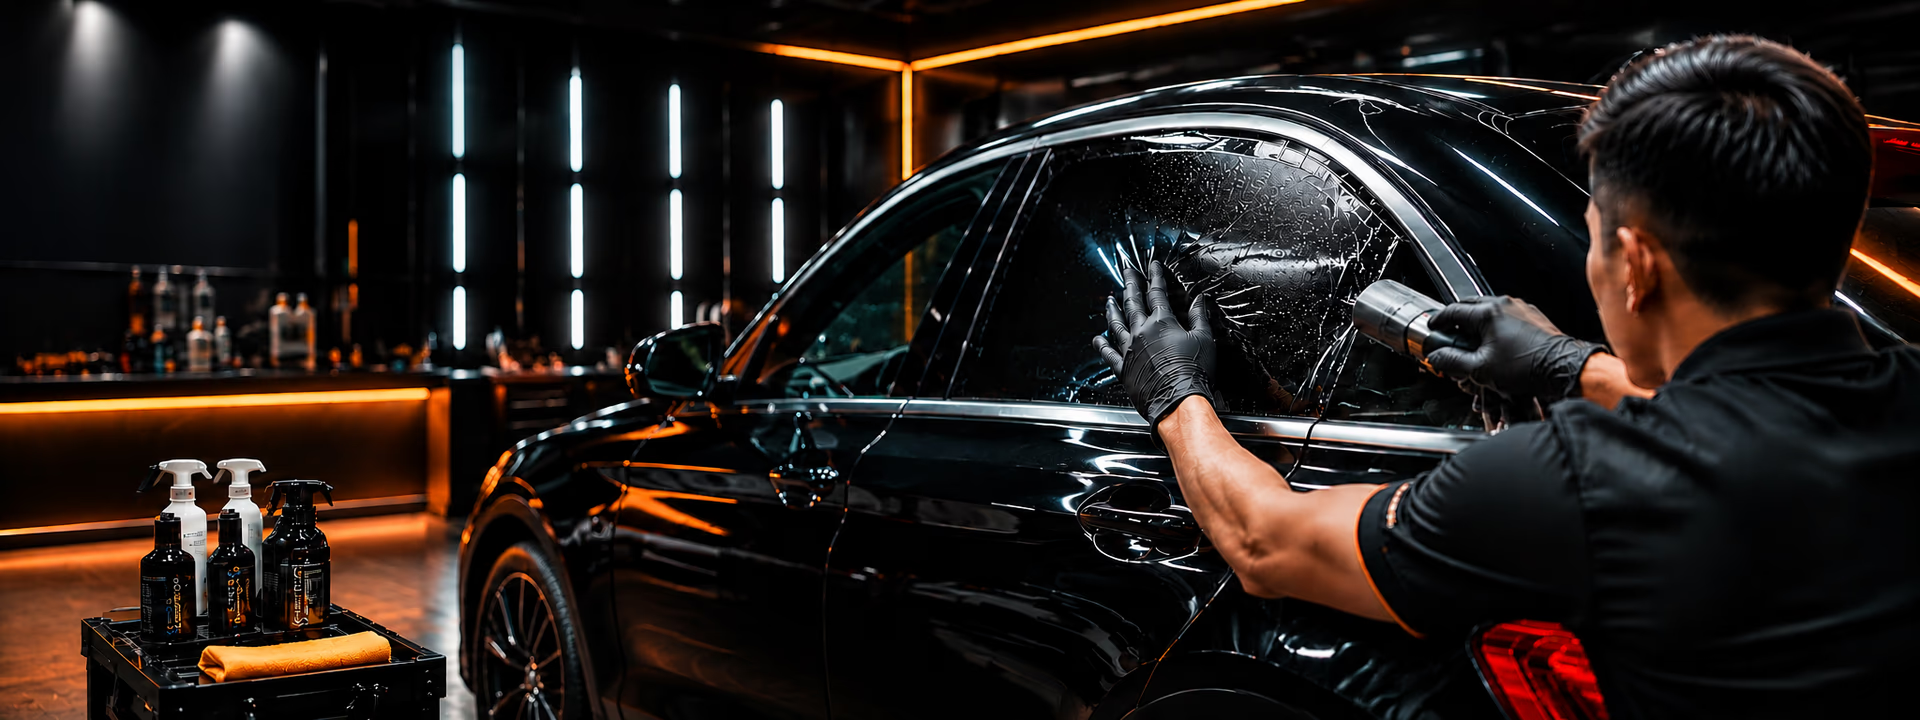
Professional Window Tinting Process: What to Expect at a Tint Shop
Step-by-step professional window tinting process in Malaysia: consultation, glass prep, film cutting, installation, curing, and JPJ VLT checks before you drive out.
Knowing the window tinting process before you arrive removes anxiety and helps you spot rushed work.
Malaysian tint shops vary from walk-in booths to specialist studios — but a professional job follows a predictable sequence.
Window tinting process step by step
Here’s what to expect from consultation to curing at a quality kedai tinted.
Consultation and film selection
You should discuss:
Goals (heat, privacy, glare, appearance).
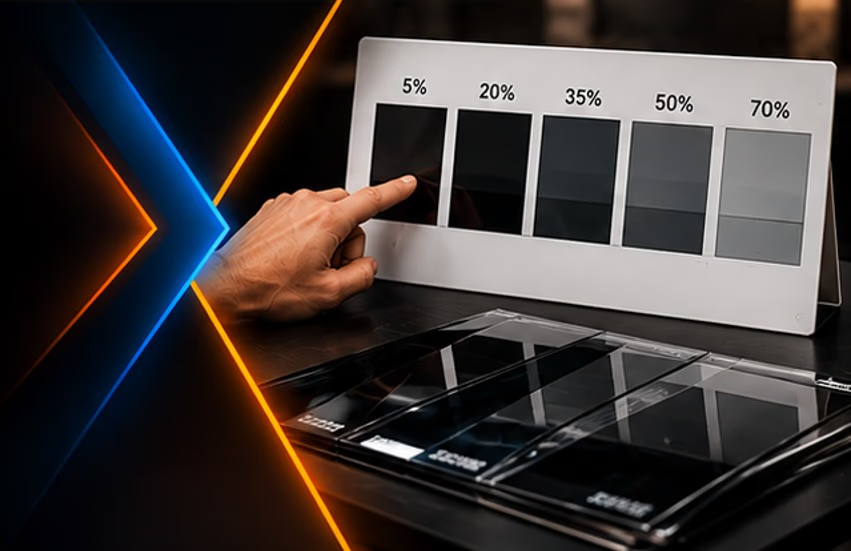
Film type (carbon, nano ceramic, sputter) — see how to choose car tint.
JPJ VLT per window — tint laws guide.
Package price for your exact model — /tint
Leave with a written shade plan: e.g. 70% windscreen, 50% front sides, 15% rear.

Vehicle intake and protection
Installers typically:
Photograph existing glass condition.
Cover seats and carpets.
Remove or mask seals as needed.
Note chips or scratches already on glass.
Ask them to show any pre-existing damage before film goes on.
Pattern and cutting
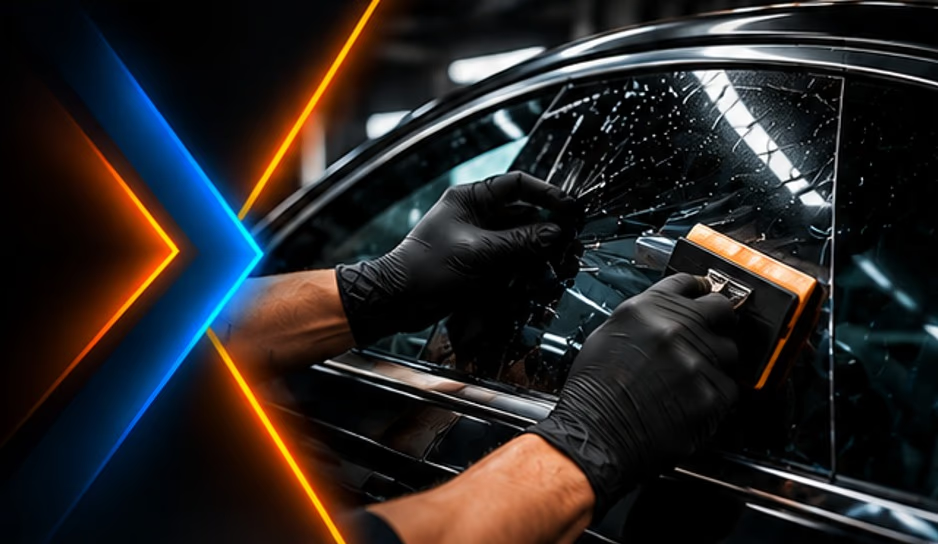
Film is cut from patterns (computer-cut or hand templates).
Computer-cut patterns reduce knife time on glass — safer for defrosters and edges.
Hand cutting is common but demands skill.
Glass preparation
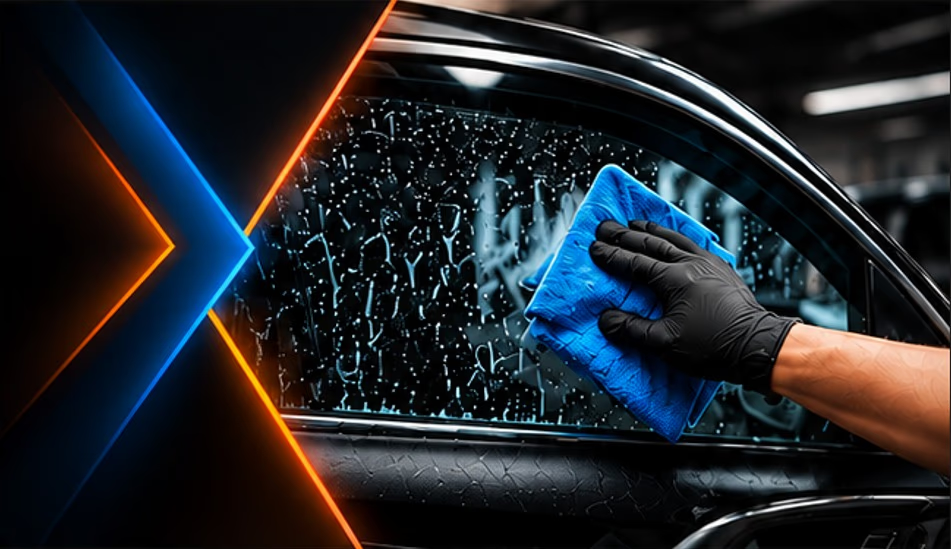
This step separates pros from amateurs:
Interior glass cleaned meticulously.
Sticky residue and old adhesive removed if re-tinting.
Dust controlled as much as the bay allows.
Dirty prep causes permanent contamination dots under film.
Film installation
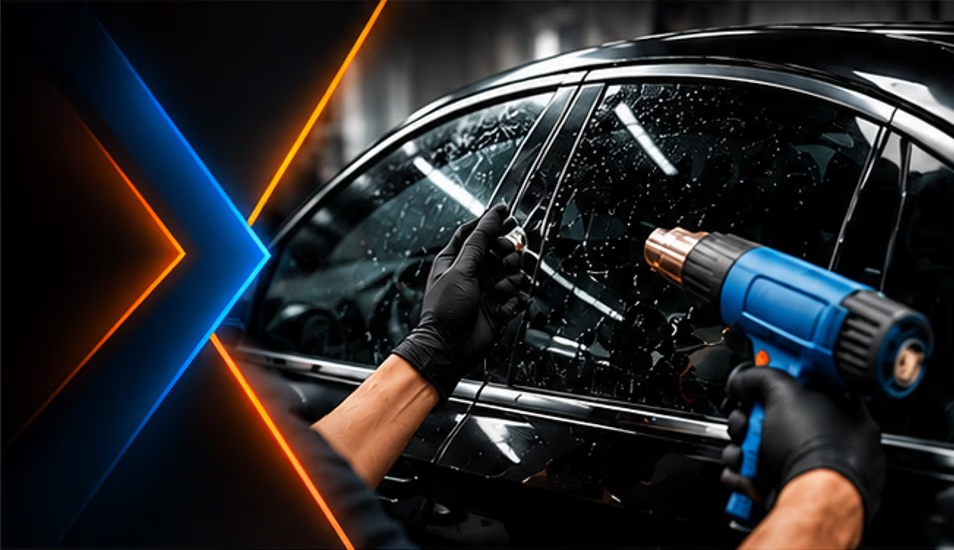
Film is positioned with application solution, squeegeed, and heat-shrunk to curves on rear screens. Edges are tucked. Door glass is cycled carefully after initial set.
Watch for:
Consistent margins at edges.
No large trapped debris.
Neat work around sensors and cameras.
Quality check and VLT confirmation
Before handover:
Lights check for haze.
Window operation test.
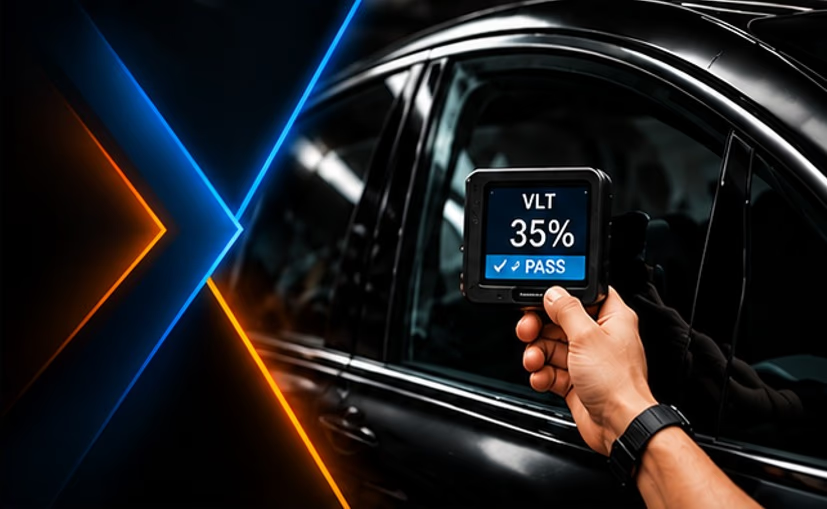
Confirmation of legal front VLT.
Aftercare briefing.

Curing period
Typical advice:
Keep windows up for several days.
Avoid automatic car washes initially.
Do not use ammonia cleaners on fresh film.
Expect light water bubbing that shrinks as moisture evaporates.
Contact the shop if bubbles grow, edges lift, or vision is impaired.
Timeline example (sedan full car)
Stage | Approx. time |
|---|---|
Consult + paperwork | 15–30 min |
Prep + cut | 45–90 min |
Install all glass | 2–4 hours |
Final check | 15–30 min |
Large glass roofs and intricate hatches add time.
Re-tinting process extras
Removing old film adds labour and risk. Budget for adhesive cleanup. Layering new film over old is not professional practice.
How process links to film performance
Even the best nano ceramic fails if prep is dirty. Heat rejection claims mean little without correct install — see IRR testing.
Questions to ask on install day
What is my curing window before lowering windows?
What warranty covers bubbling and peeling?
Who do I call if a edge lifts next week?
Is my front VLT documented on the invoice?
What “professional” looks like vs rushed shops
Professional studio | Rushed booth |
|---|---|
Written shade + VLT plan | “Dark is fine lah” |
Clean prep time | Film on dirty glass |
Pattern cutting | Excessive knife on glass |
Explains curing | “Drive off, windows ok” |
Invoice with film grade | Cash only, no brand |
If the visit feels like a tyre shop speed-run, expect speed-run quality.
Sensors, cameras, and modern glass
Newer cars pack rain sensors, cameras, and antenna lines into glass.
Tell the installer your model year.
They should mask or work carefully around these zones.
After install, test rain-sensing wipers and camera-based features before you leave.
Re-tinting after accidents or glass replacement
Insurance glass replacements often arrive with no tint.
Match previous legal shades and keep front glass compliant.
Bring photos of your old setup if you liked the look.
Process still follows the same prep → install → cure path, sometimes with adhesive cleanup if temporary film was used.
How long until heat performance feels “right”?
Film works immediately for IR rejection, but curing moisture can make new tint look slightly cloudy for days.
That is normal.
True heat comfort shows once moisture clears and you park in real afternoon sun — compare against your old untreated experience,.
not against marketing posters.
Monsoon-day and humidity realities in Malaysia
Tint bays in the Klang Valley fight humidity year-round, and monsoon weeks make it worse.
A professional studio still runs installs in rainy seasons — but process discipline matters more:
Longer glass dry time before film goes on; rushing wet glass traps moisture lines.
Stronger dust control when doors stay open between showers.
Honest curing advice — keep windows up; do not “just crack them a little” on the drive home in traffic.
Reschedule rights — if the bay AC fails or contamination risk spikes, a good shop postpones rather than forces a bad day.
Ask how the studio handles wet-weather bookings when you book tint.
Process quality is part of what you pay for on /tint, not only the film roll name.
Glass types common on Malaysian cars (and why process changes)
Not every kereta is a simple sedan with flat door glass:
Glass situation | Process note |
|---|---|
Hatchback / MPV rear screens | More heat-shrink skill; watch defroster lines |
Panoramic / large sunroofs | Extra time; confirm film is approved for that glass |
Older Proton / Perodua with thick adhesive history | Longer removal and cleanup on re-tint |
New EV large windscreens | Legal front VLT + high-IRR film planning — how to choose tint |
Factory privacy glass already dark | Measure real VLT before stacking illegal darkness |
Bring your model year and any previous tint invoices.
Installers who know Malaysian fleet mixes pattern faster and cut less on glass —.
which is exactly what you want for sensors and rear heaters.
Pair the process with JPJ-aware shade choices from our tint laws guide so the beautiful install is also a legal one.
What you should receive at handover
Before you drive off, you should have:
Invoice listing film brand / grade and shades per window.
Verbal or written curing rules (days windows stay up, first wash timing).
Warranty contact if an edge lifts or a bubble grows.
Confirmation that front glass targets remain JPJ-sensible.
If handover is “finished lah, just go,” you received a product — not a professional process.
Key Takeaways
A professional window tinting process is consultation, meticulous prep, skilled install, legal VLT confirmation, and clear curing instructions.
If a shop skips prep or rushes edges, walk away — film brand cannot save a bad process.
Book your tint appointment or explore tint packages at KL Tint Studio.
Q: How long does professional window tinting take?
Q: Can I drive immediately after tinting?
Q: Why do bubbles appear after install?
Q: Will tinting scratch my defroster lines?
Q: Do you check JPJ VLT during the process?
Q: How do I book tinting?
..
Related searches people use include window tint installation, car tint installation, tint installation, auto tint installation. Use those terms when comparing quotes so shops know exactly what you need.